Teach Your Daughter To Recycle Plastic
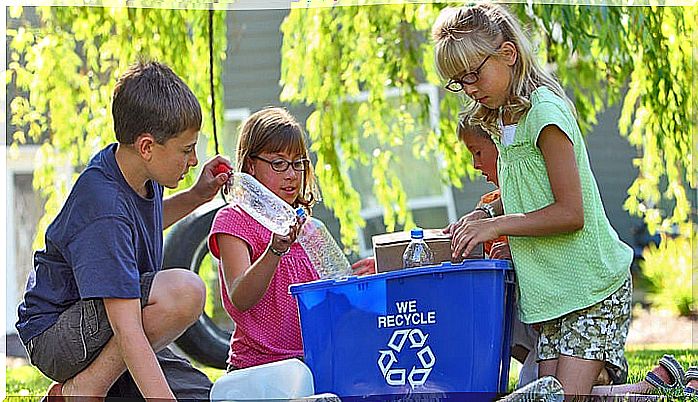
Plastic is a wonderful raw material from which various utensils can be made over and over again. It does not deteriorate easily and as it is also hard, what is made with it will last a lifetime. To teach your daughter that plastic is not garbage but a very versatile material, we will show you how to make a sound sphere to decorate her room and some colored bracelets to make her look more beautiful.
Sound sphere to decorate your daughter’s room
Materials
- 10 transparent plastic knobs from 500 ml bottles (some more or some less depending on the size you want to give to the sphere)
- Glue for plastic
- Pebbles
- Pair of scissors
- Brushes
- Colored varnishes for plastic
How to make the craft
Take the caps off all the plastic knobs. Take 2 of them, put glue on their edges, put some pebbles inside them and join them. Do the same with the remaining caps until you make 5 small maracas. Then paint them in various shades, bright colors, preferably.
Next, take the plastic knobs and cut the bottom of them, ensuring that they are all the same. Spread the glue on the sides of each background and stick together in such a way that you join them until you build a sphere.
Before placing the last background that will complete the circle, insert the maraquitas inside and completely seal the ball. Give the glue time to dry and then take it to the floor in your daughter’s room.
If you leave the window open as the wind blows, the ball will roll around the room producing a soft and funny sound. This is an ideal craft to incorporate your daughter into the world of recycling, but there is more! Read on to discover other plastic crafts.
Colored bracelets to look more beautiful
If your little daughter just wants to take your jewelry out of the chest to wear around the house, we recommend making her own bracelets. Don’t miss out on how she can do them alone or with your help, it’s easier than it sounds!
Materials
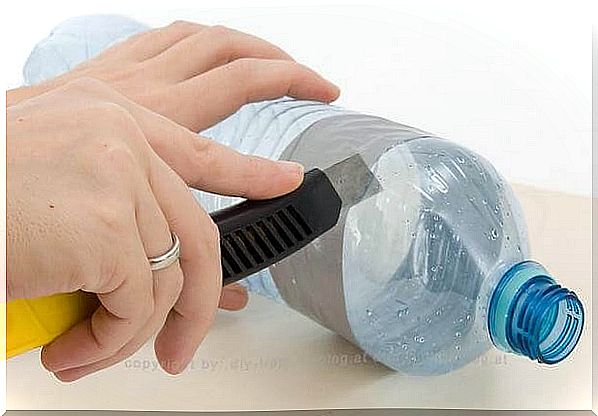
- 1 plastic bottle of 500 ml
- Color tapes
- Holed balls for garnish
- Glue for plastic
- Pair of scissors
How to make the craft
Take the plastic bottle and cut out several rings, some wider than others to make different bracelets. Once you have the rounds, take one of them and spread glue on the inside, then go by rolling one of the ribbons so that you cover the entire surface.
When you hit the beginning of the tape, spread another bit of glue on the inside, cut the tape and finish rolling it until it is completely glued. If necessary, put another bit of glue on its tip so that it does not come off. Done! So you will have the first bracelet. To make another bracelet, different from the previous one, we recommend you take a ribbon of another color and do something similar to what you did before.
Spread glue on the inside of the plastic ring and go by rolling the tape, only this time do not start rolling it from its end, leave about 7cm of tape hanging and from there begin to roll it to the plastic. When you hit the start of the winding, leave another 7 cm of tape hanging down and then cut it off.
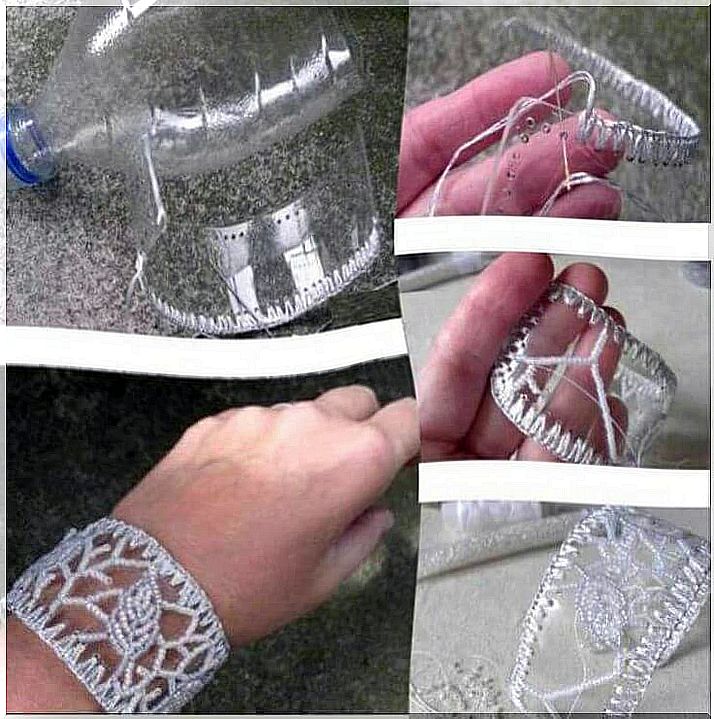
Take the two dangling ends of ribbon and tie a knot with them. As a result you will have the bracelet completely covered by the ribbon and two hanging strips. To decorate the two strips, insert them through the holes of the colored balls. Then tie a knot in each of the ends of the strips so that the balls do not fall and that’s it! You will have the second bracelet with hanging spheres and your little one will love it.
To make the third ornament you will take two ribbons of different colors, let’s say: one green and one yellow. Tie a knot at one end of the ribbons. Smear glue on the inside of the plastic ring and work the ribbons one from the inside out.
The other from the outside to the inside in such a way that the green tape leaves a space for the yellow tape so that the two are always visible and the tones are interspersed. When you get to the end you will have a beautiful matching bracelet. To finish off, tie a knot with the ribbons and, if you wish, add some pretty ones of the same color.